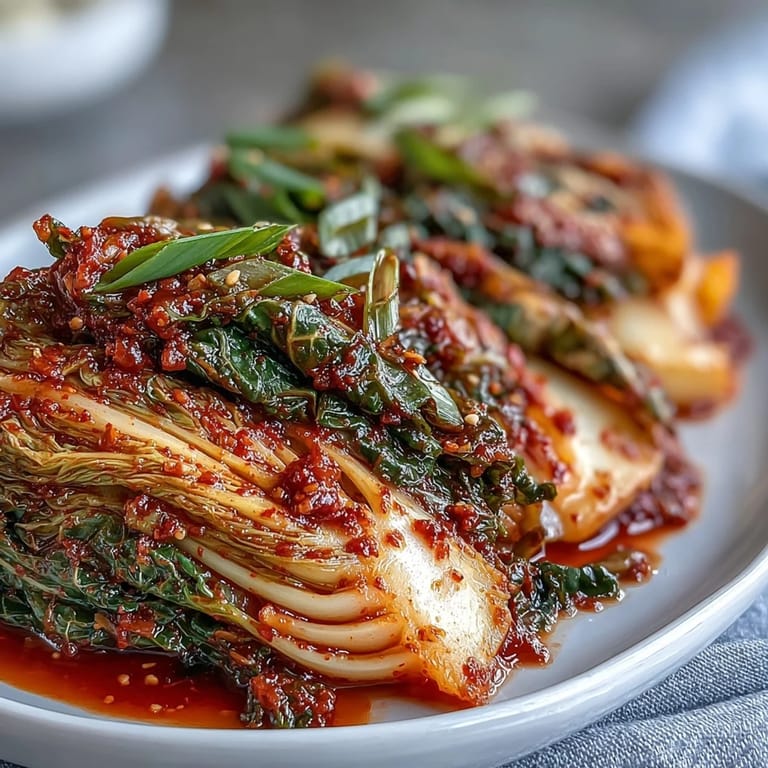
 Save to Pinterest
 My first batch of kimchi happened by accident, really. I'd bought a massive napa cabbage at the Korean market without a real plan, and a friend casually mentioned that fermentation was easier than I thought. Three days later, my kitchen smelled like a vibrant blend of garlic, ginger, and something alive and transforming. That tangy crunch changed how I thought about cooking—suddenly a side dish became the star of the table.
I made a huge batch for a dinner party once, nervous that homemade kimchi wouldn't measure up to the stuff from the Korean restaurant down the street. When my neighbor took a bite, she closed her eyes like she was transported somewhere. That moment told me everything—there's a reason families pass down fermentation recipes, and it's not just about the ingredients.
Ingredients
- 1 large napa cabbage (about 1.2 kg / 2.5 lbs): The foundation of your kimchi; look for firm heads with pale inner leaves that mean it was stored well and will hold up beautifully to the brine.
- 1 medium daikon radish (about 200 g), julienned: This adds a peppery crunch that deepens as it ferments, bringing complexity that makes people wonder what the secret ingredient is.
- 4 scallions, sliced: They soften slightly during fermentation but keep a whisper of sharpness that keeps each spoonful interesting.
- 1 medium carrot, julienned (optional): Adds sweetness and color; I skip it sometimes when I want the kimchi to feel more austere and serious.
- 80 g (1/3 cup) coarse sea salt: Use actual sea salt or kosher salt, not iodized table salt, which can turn your kimchi murky and bitter over time.
- 1.5 liters (about 6 cups) cold water: Temperature matters here; cold water draws out the cabbage's natural juices more gently.
- 6 cloves garlic, minced: Garlic ferments into something mellow and almost sweet, so don't hold back if you love it.
- 1 thumb-sized piece fresh ginger, peeled and minced: Fresh ginger is non-negotiable; it adds a clean heat that complements the chili without overpowering it.
- 1 small onion, roughly chopped: The onion breaks down completely and creates a subtle sweetness that balances the spice.
- 3 tbsp fish sauce (or soy sauce for vegan): This is where the umami bomb lives; fish sauce ferments into something less pungent and more savory-deep.
- 1 tbsp sugar: A small amount feeds the fermentation and rounds out the flavors without making it taste sweet.
- 3–5 tbsp Korean red chili flakes (gochugaru), to taste: This is your spice dial; buy it from a Korean market where it's fresher and more vibrant than the supermarket version.
- 2 tbsp rice flour: This creates a paste that helps the spice mixture coat everything evenly and prevents the chili from settling at the bottom.
- 150 ml (2/3 cup) water: For making the rice paste base that binds everything together.
Tired of Takeout? 🥡
Get 10 meals you can make faster than delivery arrives. Seriously.
One email. No spam. Unsubscribe anytime.
Instructions
- Prep the cabbage:
- Cut your napa cabbage lengthwise into quarters, then chop into 2-inch pieces so they fit easily into jars later. You want each piece sturdy enough to hold the spice paste but tender enough to absorb it.
- Brine the cabbage:
- Dissolve sea salt in cold water in a large non-reactive bowl (glass, ceramic, or stainless steel), then add cabbage and toss to coat. Weight it down with a plate and something heavy so it stays submerged—this keeps the vegetables from oxidizing and turning brown. Let it sit for 2 hours, tossing every 30 minutes so the brine reaches all the leaves.
- Rinse thoroughly:
- Drain the cabbage and rinse it 2–3 times under cold water until the water runs mostly clear; too much salt left behind will create an overly salty final product. Squeeze gently with your hands to remove excess moisture without bruising the leaves.
- Make the rice paste:
- Whisk rice flour with 150 ml water in a small saucepan over medium heat, stirring constantly until it thickens into a smooth paste about 1–2 minutes. This paste will feel warm in your hands and smell slightly sweet; let it cool to room temperature before moving on.
- Blend the spice paste:
- Combine cooled rice paste, minced garlic, ginger, chopped onion, fish sauce, and sugar in a blender, then blend until completely smooth and creamy. Stir in your gochugaru by hand, tasting as you go, so you can adjust the heat to exactly what you want.
- Coat the vegetables:
- In a large bowl, combine drained cabbage, julienned daikon, carrot if using, and sliced scallions, then add all the spice paste. Put on kitchen gloves—this protects your hands and gives you better grip—and massage everything together, making sure every piece of vegetable is coated in that vibrant red paste.
- Pack into jars:
- Transfer the mixture tightly into clean glass jars or a fermentation crock, pressing down as you go to eliminate air pockets; this keeps unwanted bacteria from developing. Leave at least 1 inch of headspace at the top to account for the liquid that will rise as fermentation begins.
- Start the fermentation:
- Seal the jars and leave them at room temperature away from direct sunlight for 1–2 days, remembering to open them once a day to release the buildup of gas. You'll see bubbles appearing and smell that distinctive tangy fermentation aroma intensifying each day.
- Taste and store:
- After 48 hours, open a jar and taste it; when it's reached your desired level of sourness and tang, move it to the refrigerator where fermentation slows dramatically. It will continue developing flavor over weeks, so don't be surprised when it tastes even better next week than it does today.
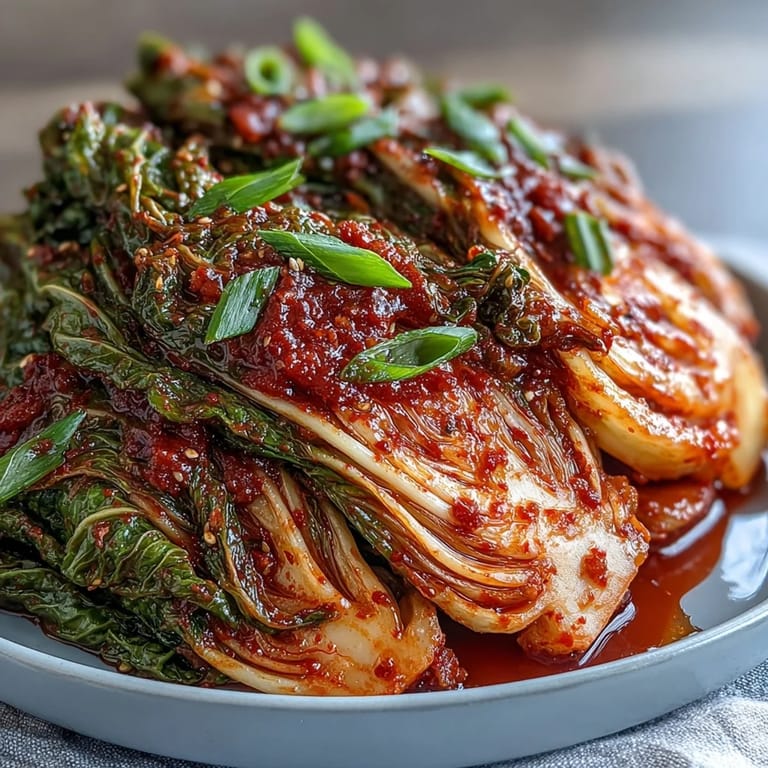 Save to Pinterest
 There's a moment, usually around day three, when you open the jar and realize something alive is happening in there. The smell shifts from sharp and raw to complex and inviting, and you understand why this dish has been part of Korean food culture for centuries. It's not just preservation; it's transformation.
The Magic of Fermentation
Fermentation isn't mysterious once you understand what's happening—salt draws liquid out of the vegetables, which creates an environment where beneficial bacteria called lactobacilli thrive while harmful bacteria can't survive. As these good bacteria multiply, they create lactic acid, which is what gives kimchi that signature tang and also preserves it naturally. You're not adding probiotics; you're creating the conditions for them to flourish, which is a completely different thing.
Temperature and Timing
The warmer your kitchen, the faster your kimchi will ferment; in summer heat, it can reach peak tanginess in 24–36 hours, while in a cool kitchen it might need a full week. I've learned to taste mine daily once it hits day two, because there's a narrow window between pleasantly tangy and aggressively sour, and that window depends entirely on your preferences and your room's temperature. Fermentation doesn't stop when you refrigerate it; it just slows down dramatically, which is why a jar from three months ago will taste noticeably different from one you made last week.
Variations and Personal Tweaks
Once you've made kimchi a few times, you'll start seeing it as a template rather than a rigid formula. Some people add grated pear or apple to the spice paste for brightness and subtle sweetness, while others include kombu or anchovy dashi for deeper umami. I once added a handful of gochugaru-soaked mushrooms for earthiness, and another time I included some Korean fish cake, which gave it an unexpected richness.
- For milder kimchi, reduce the gochugaru or blend in grated apple or pear to sweeten and mellow the heat.
- Vegan versions swap fish sauce for soy sauce or specialized vegan fish sauce without losing any depth of flavor.
- Always taste before storing so you know exactly where your batch is in its flavor development.
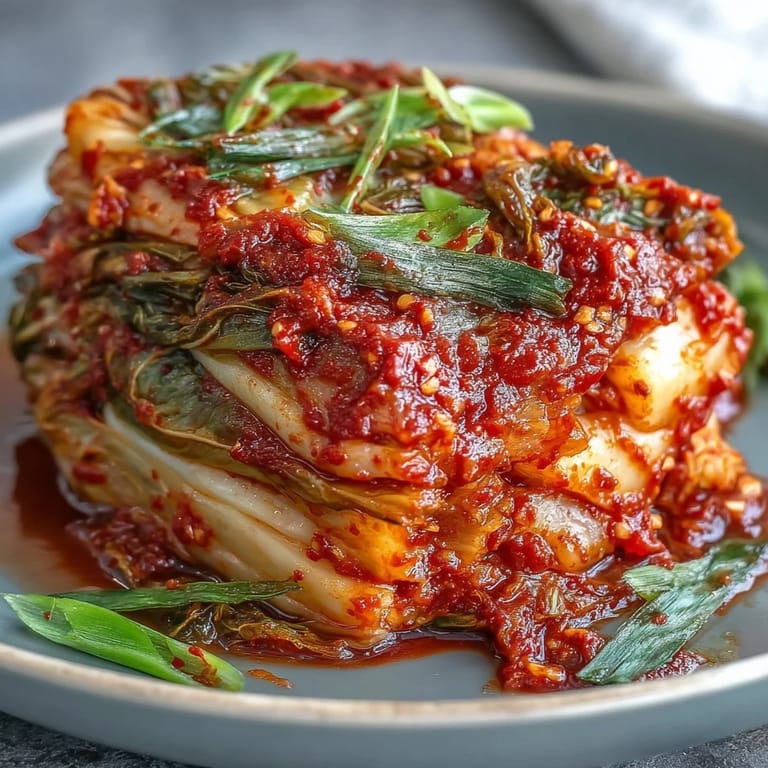 Save to Pinterest
 Homemade kimchi becomes one of those things you can't imagine living without once you've tasted it at its peak. Serve it alongside rice and eggs for a simple breakfast, pile it on sandwiches, chop it into soups, or eat it straight from the jar as a spicy snack.
Recipe FAQs
- → How long does it take to ferment?
Count on 2-7 days of fermentation at room temperature, depending on your preferred sourness level. The warmer your kitchen, the faster it develops tangy flavors. Check daily and transfer to cold storage once it reaches your desired taste.
- → Can I make it less spicy?
Absolutely. Reduce the Korean red chili flakes to 2-3 tablespoons for milder heat. You can also add grated apple or pear to the spice paste, which naturally balances the chili's intensity while adding subtle sweetness.
- → How do I know when it's ready?
Taste after 48 hours of fermentation. When the cabbage tastes pleasantly tangy with a slight fizz and developed depth, it's done. The vegetables should taste transformed from raw to complexly fermented. Trust your palate—it's ready when you enjoy the flavor.
- → What's the purpose of burping jars?
Burping releases carbon dioxide produced during fermentation. Without daily venting, pressure builds and can cause jars to crack or leak. Simply open lids briefly once daily to let gas escape, then reseal. This prevents messy explosions and ensures proper fermentation.
- → How long does it keep in the refrigerator?
Properly stored in the fridge, kimchi continues fermenting slowly and stays good for several months, though texture softens over time. The flavor deepens and becomes more sour the longer it ages. Most people find the sweet spot between 2-8 weeks for optimal taste and texture.
- → Can I use regular salt instead of sea salt?
Coarse sea salt works best because its mineral content enhances fermentation and doesn't contain anti-caking agents found in table salt. These additives can interfere with beneficial bacteria development. If necessary, kosher salt makes an acceptable substitute, but avoid iodized table salt.