 Save to Pinterest
 The first time I made cake donuts at home, I was convinced something would go spectacularly wrong. My friend Sarah had mentioned how her bakery made theirs, and I became obsessed with the idea that I could recreate that tender, pillowy texture in my own kitchen. When I pulled that first batch from the oil and they emerged golden and perfect, I actually gasped—and then immediately ate one while it was still too hot, burning the roof of my mouth like an absolute amateur. But it was worth it, because that moment taught me that sometimes the simplest recipes deliver the biggest joy.
I made these for a Saturday morning with my niece, and we turned the whole thing into an event. She insisted on decorating the kitchen with paper donut cutouts before we even started, which made the space feel festive and a little ridiculous in the best way. By the time we pulled the warm donuts from the oil, she was already plotting which coating she wanted, and I realized this recipe had transformed from just breakfast into a memory we'd actually remember.
Ingredients
- All-purpose flour (2 1/2 cups): This is your foundation—it gives the donuts their structure without making them tough, but don't pack it into the measuring cup or you'll end up with dense, sad donuts.
- Granulated sugar (1 cup): This sweetens the dough itself, so every bite has that cakey, tender quality you're after.
- Baking powder and baking soda (2 tsp and 1/2 tsp): These create the lift and fluffy crumb, so make sure they're fresh—old leavening agents are the silent killer of good donuts.
- Salt and nutmeg (1/2 tsp each): Salt balances the sweetness, while nutmeg adds a warm, subtle spice that people taste without quite knowing what it is.
- Eggs and buttermilk (2 large and 3/4 cup): The eggs bind everything together, and buttermilk adds richness and a slight tang that deepens the flavor.
- Melted butter (1/4 cup): Make sure it's cooled slightly before mixing, otherwise you'll risk scrambling those eggs—I learned that the hard way.
- Vanilla extract (1 tsp): This adds warmth and depth to the crumb, making each bite taste more like a real treat.
- Vegetable oil for frying (about 1.5 liters): You'll need enough to fully submerge your donuts; a deep pot or small deep fryer works best.
- Powdered sugar and milk for glaze (1 cup and 2–3 tbsp): The milk adjusts the consistency, so add it slowly until you get that silky, dip-able texture.
- Cinnamon sugar coating (1/2 cup sugar and 1 tsp cinnamon): Mix this in a shallow bowl right before you coat the donuts, while they're still warm and slightly sticky.
Tired of Takeout? 🥡
Get 10 meals you can make faster than delivery arrives. Seriously.
One email. No spam. Unsubscribe anytime.
Instructions
- Whisk the dry ingredients together:
- In a large bowl, combine flour, sugar, baking powder, baking soda, salt, and nutmeg. This distributes the leavening agents evenly, which is the secret to uniform, fluffy donuts.
- Beat and blend the wet ingredients:
- In a separate bowl, beat the eggs first, then whisk in buttermilk, cooled melted butter, and vanilla extract until it's smooth and combined.
- Bring it together gently:
- Add the wet mixture to the dry ingredients and stir until just combined—this is crucial, because overmixing develops gluten and turns your donuts tough and dense instead of tender and cakey.
- Roll out the dough:
- Turn the dough onto a lightly floured surface and pat or roll it to about 1/2-inch thickness, working gently so you don't press out all the air.
- Cut your donuts:
- Use a 3-inch donut cutter, or improvise with two round cutters (one large, one small) to create the hole; save those donut holes because they fry beautifully and cook even faster.
- Heat your oil to the right temperature:
- Get a deep pot filled with oil to exactly 350°F (175°C)—use a thermometer, because guessing will either give you greasy donuts or burnt ones, and neither is fun.
- Fry in careful batches:
- Lower donuts gently into the hot oil and fry for about 1–2 minutes per side until golden brown all over, then use a slotted spoon to fish them out and drain them on paper towels.
- Glaze or coat while warm:
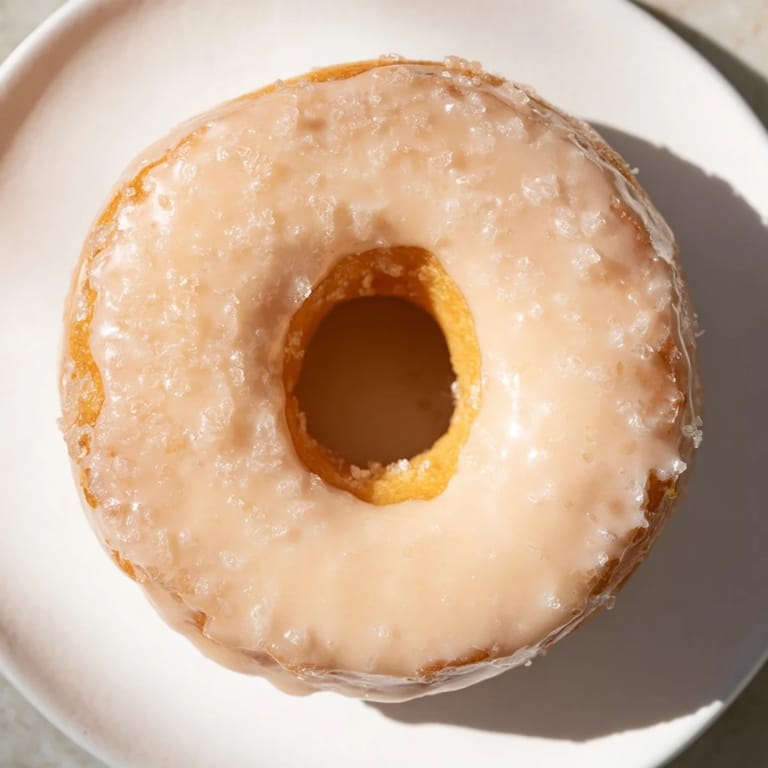
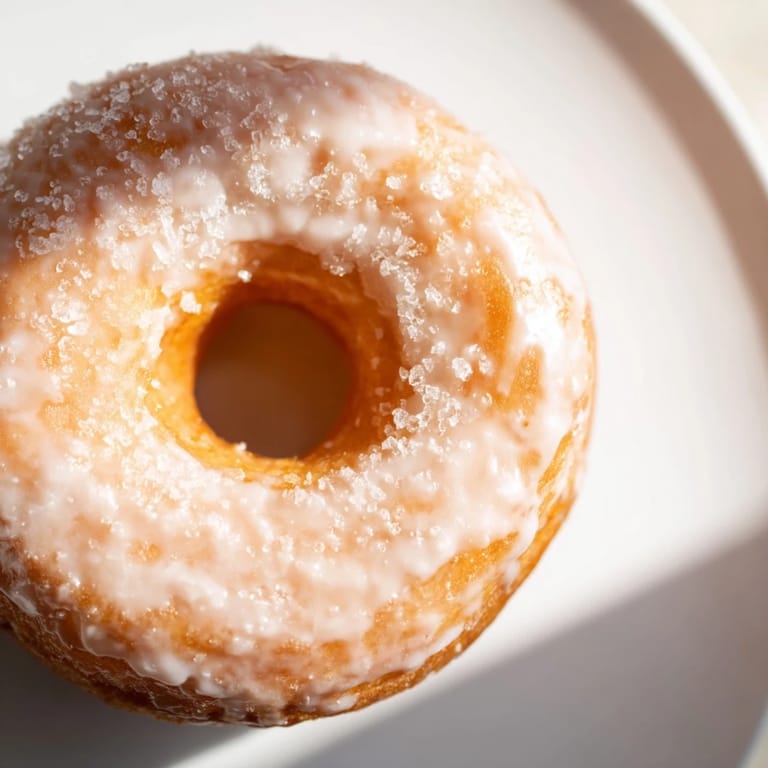
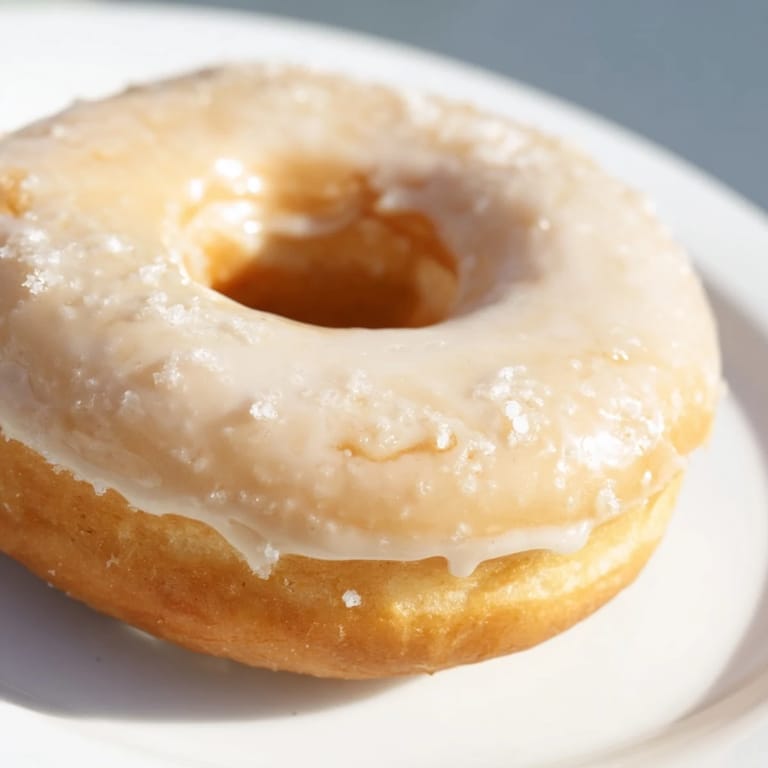
- For glaze, whisk powdered sugar, milk, and vanilla until smooth, then dip each warm donut and set it on a rack to drip and set. For cinnamon sugar, toss the warm donuts in the mixture until fully coated.
 Save to Pinterest
 There's something almost magical about watching someone bite into a donut you made yourself—that moment when their eyes light up and they taste the tenderness, the subtle nutmeg, the perfect fry. I remember my mom taking one of mine and saying it tasted like a bakery donut, and I felt so proud that I immediately made another batch the next weekend.
Flavor Variations to Try
Once you nail the basic recipe, you can play with the coatings and glazes endlessly. For chocolate glaze, whisk 2 tablespoons of unsweetened cocoa powder into your glaze mixture for a rich, slightly bitter coating that balances the sweetness of the donut. Maple glaze is equally stunning—swap the milk in the glaze for a splash of maple syrup for a fall-inspired treat that feels elevated but still homey.
Substitutions and Swaps
If you don't have buttermilk on hand, sour cream works beautifully as a substitute and actually adds a slight tanginess that I find even better than buttermilk sometimes. You can also make a quick buttermilk substitute by mixing regular milk with a tablespoon of lemon juice or vinegar and letting it sit for five minutes—it's not identical, but it works in a pinch.
Serving and Storage Tips
These are absolutely best eaten fresh, ideally within a few hours of frying when the exterior is still crispy and the crumb is at its most tender. If you need to make them ahead, you can prepare the dough the night before, cover it, and refrigerate it, then bring it to room temperature before rolling and cutting. They don't keep much past a day or two, so if you're making a full batch, recruit a friend to help you eat them or plan to freeze some for later—thaw them gently at room temperature and they'll taste almost as good.
- Donut holes cook faster than full donuts, so fry them separately and watch them carefully so they don't overcook.
- If your glaze is too thick, thin it with milk a teaspoon at a time; if it's too thin, whisk in a bit more powdered sugar.
- Let the donuts cool for just a minute or two before glazing or coating, but not so long that they're completely cold, because the coating won't stick as nicely.
 Save to Pinterest
 Making donuts at home is easier than you think, and the payoff is immediate and joyful. Once you've made them once, you'll find yourself coming back to this recipe again and again, each time confident and a little bit proud.
Recipe FAQs
- → What gives these donuts their soft texture?
The combination of buttermilk and a moderate amount of baking powder and baking soda creates a tender crumb that results in soft, cakey donuts.
- → Can I substitute ingredients in the glaze?
Yes, milk in the glaze can be replaced with cream or plant-based milk for a different flavor and consistency. Adding cocoa powder can create a chocolate glaze.
- → How do I achieve the perfect golden color when frying?
Maintaining the oil temperature around 350°F (175°C) ensures the donuts cook evenly and develop a golden brown crust without absorbing excess oil.
- → What is the purpose of nutmeg in the dough?
Nutmeg adds a subtle warmth and depth to the dough, enhancing the overall flavor profile of the donuts.
- → How should the donuts be stored to keep freshness?
Store cooled donuts in an airtight container at room temperature for up to two days to maintain softness and flavor.
- → Is it necessary to roll the dough to a specific thickness?
Rolling the dough to about 1/2-inch thickness ensures the donuts fry evenly and have the ideal cakey texture.